Suze H

Follow Me on Pinterest

Tuesday, 8 April 2014

Game of Chores

If you're anything like me, you have a list of chores a mile long.  You seem to constantly add to this list, but cross off very few.  Well, enough is enough!  I decided to get a lot more organised and to stop procrastinating (love that word - sounds so rude, but the folks never tell me off for using it!)  So, I went from room to room, making a list of all the chores that I had to do.  I rewrote each chore on a scrap of paper and divided them into pots.  There are 4 pots, labelled as follows:
1-3 hours
1/2 day
All day
Ongoing

Pretty self-explanatory, really.  So, if I have a whole day at home, then I will pick a chore out of that pot.  If I only have a couple of hours, I open the 1-3 hour pot.  I have to dip into the ongoing pot once a week and work on 3 hours of that particular job over that week.  Chances are I'll often get a job I really don't want to do (as those are the ones I always put off) but tough titty!  I've pulled it out, so do it I must. 

This may sound a bit of a long-winded way of doing those jobs you always put off, but I like the fact it's now a bit of a game and I have to confess I'm getting through those chores now!  Chores range from, cleaning windows, to sorting out wardrobe and chucking clothes that don't fit or I don't wear anymore to doing some mending, to fixing something, attaching a new clasp to a bracelet or making a new piece of jewellery for the shop, or finishing off a cardigan I was knitting, etc.......

I still have about 68 chores to do - yikes!!!!

P.S.  I have regained some of my mojo since the last post, so I will show off my creative side again soon.


Friday, 21 March 2014

Loss of mojo!

In case you were wondering, I am still around, but have suffered a severe lack of mojo recently in all things creative - jewellery making, knitting, sewing.....  I think this is mostly due to the recent spell of fab weather, so I've been making the most of that.  The sun has inspired me to be a lot more energetic, so in between 90 mins of exercise per day, plus trying to catch up on some chores around the house, I've found little time for anything else.

Hopefully, there will be a forthcoming creative day and I can actually post about something interesting with piccies!

Have a lovely sunny weekend!

Friday, 7 March 2014

Handmade Hotspot

Well, I am now officially a sole trader!  My friend's shop opens on Monday 10th March and will be selling handmade arts and crafts, including my jewellery - yay!!!


My full display

Handmade Hotspot can be found at 4 High Street, Ely, Cambs, so if you're a local, do drop in!

Friday, 21 February 2014

Art by my Dad


Happy Friday, all!

My Mum gave me copies of some sketches that my Dad did a few years ago when they were on holiday in Austria.  I found some cheap clip frames and they are now hung around the house.  I'm so envious of my Dad's fantastic artistic ability.  I have trouble drawing curtains!!!


Sorry that there is some reflection issues going on, but that aside, aren't they fab?

I had a most frustrating sewing day yesterday.  I just seem to have lost all my mojo at the moment, so I gave up and made some cakes instead.
They tasted great so at least I managed to get that right :-)


Wednesday, 19 February 2014

Flat spiral weave bracelet


Hey guys!

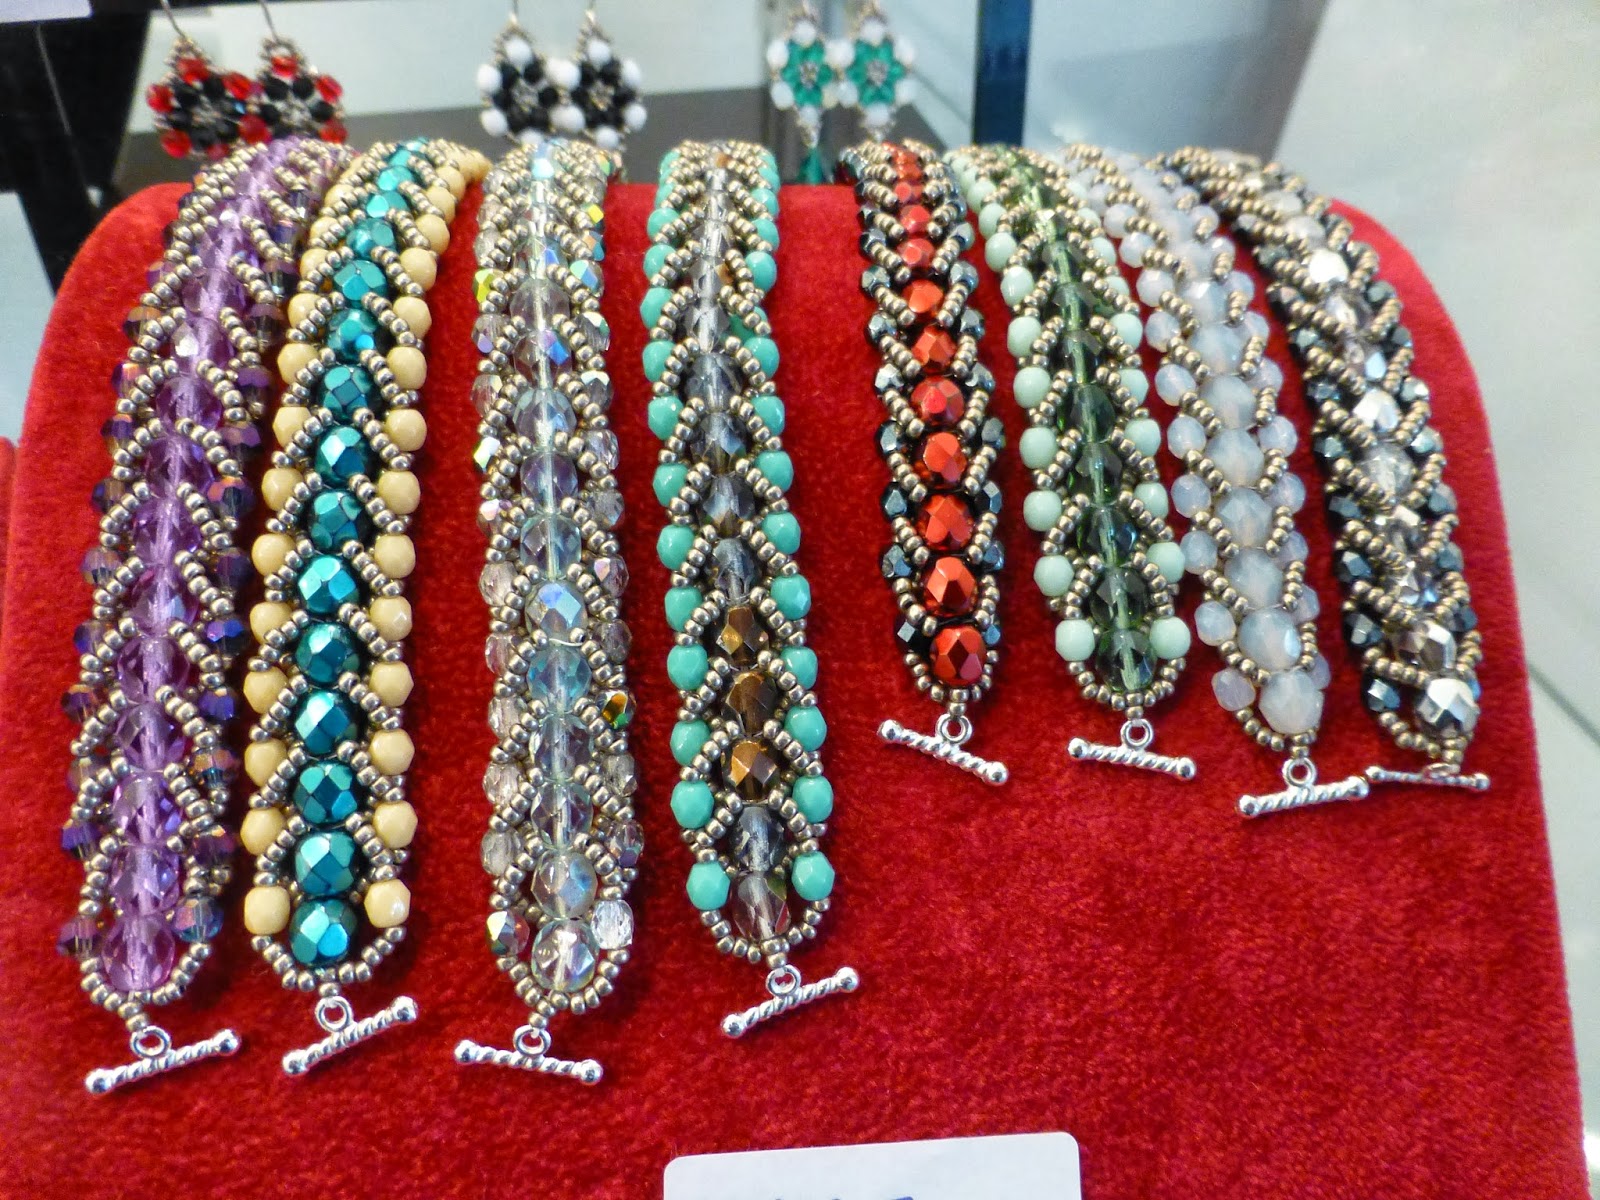
Well, since my last post of the Woven elegance bracelet, I have been totally obsessed with making these, so I've been building up some extra stock for the shop.

Here are some piccies for you:


Think my Mum will love this one!


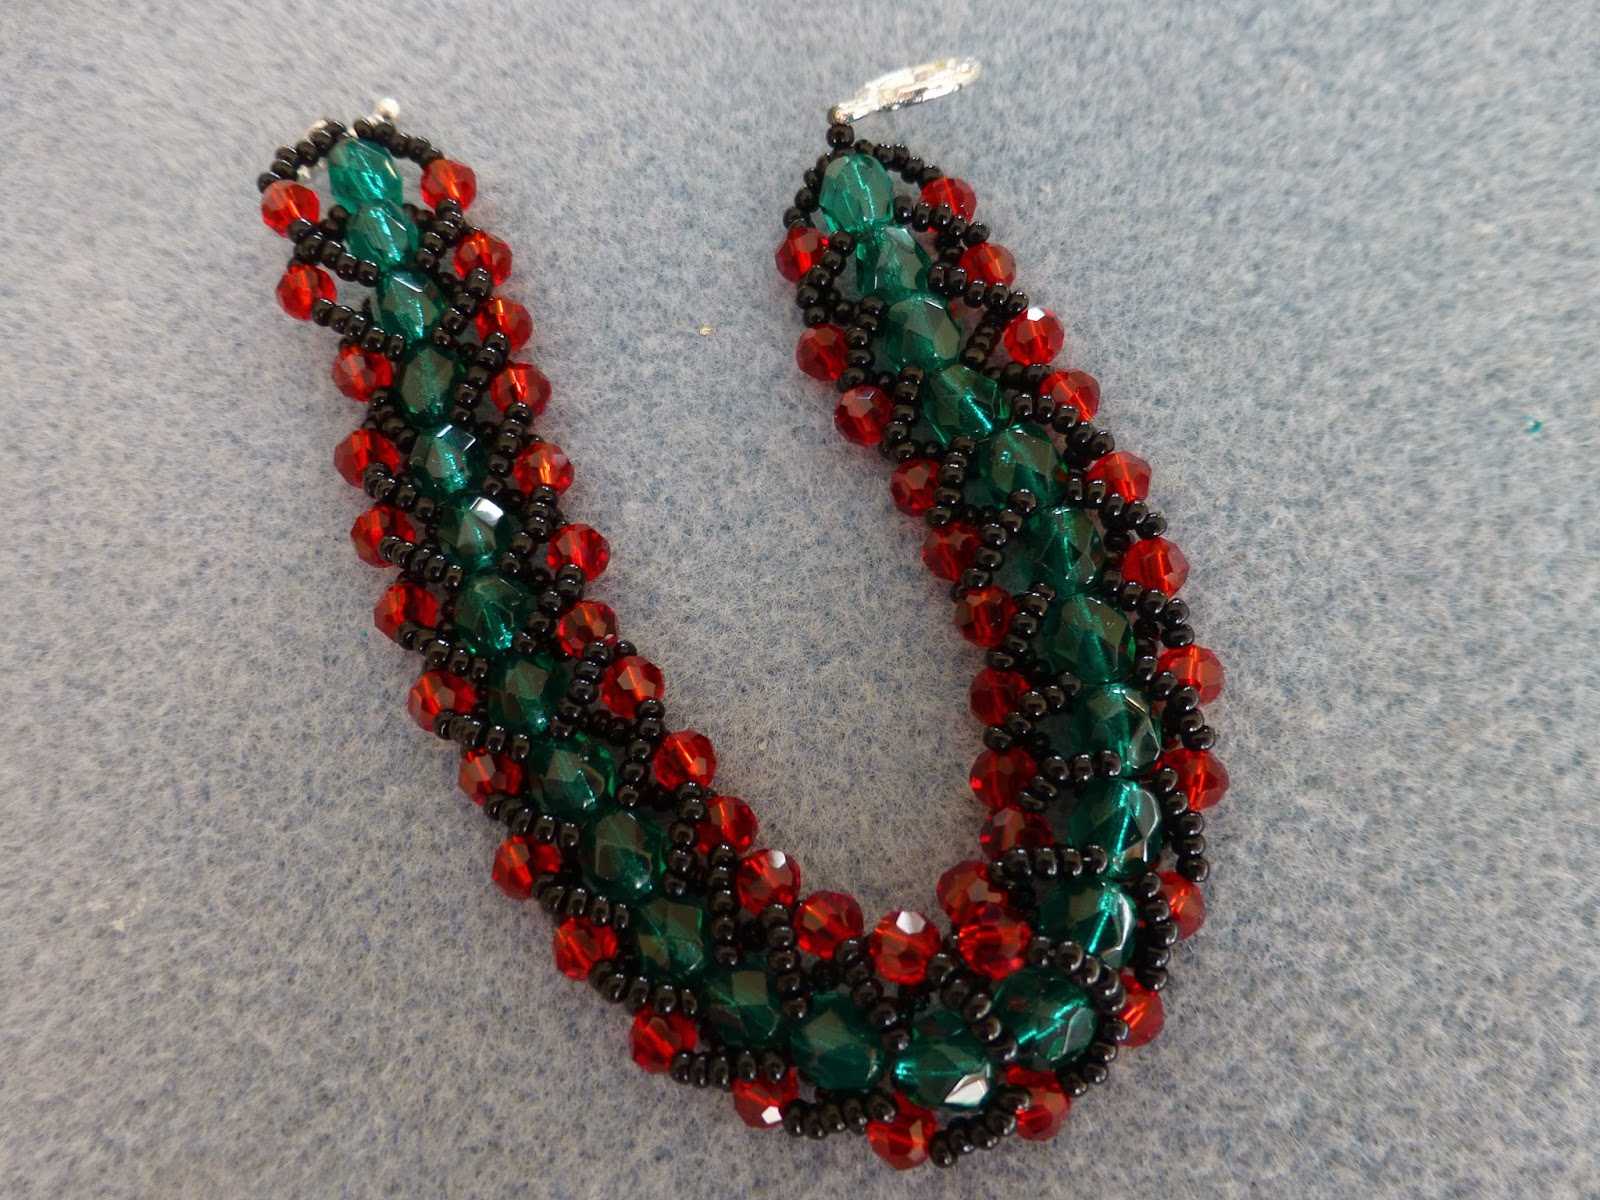
Hmm, not sure about the red/ green/ black combo.....
Double flat spiral weave (top), single flat spiral weave (bottom)

The colour combo above was my favourite, so I decided to make a double bracelet for me.

If you want to make one of these bracelets yourself, you can find tutorials on Pinterest.  My Amari looked to be a good one, so if you've got a spare couple of hours and you're feeling crafty, give it a go!

Wednesday, 12 February 2014

Woven elegance bracelet

I went to another jewellery making class last night at The Beaderie in Cambridge.  It was here I first learnt how to make beaded jewellery and where I developed my passion for this craft.

Sally is a great and patient teacher and always holds brilliant classes.

This is what I made last night:


This was an amazingly simple pattern and didn't take all that long to make.  I finished this in well under 2 hours.  I will definitely make more of these in a variety of colours, but I was really pleased with the colours I chose in the class.  

Hope you're all keeping warm and dry during this awful weather.

Wednesday, 5 February 2014

Tutorial - a simple macrame and leather bead bracelet

Morning all!

I've been mega busy making stock for my friend's shop, which will be opening in the next few weeks.

Thought I would share a simple tutorial with you on how to make a macrame and leather bead bracelet.

You will need:

  • 1 button (I think mine is 15mm)
  • 4mm beads (I used approx 40, but you will need more or less depending on the size of your wrist)
  • 80cm of 1.5mm leather in a colour of your choice
  • 1.5 metres of 1mm nylon cord in a colour of your choice
  • Scissors
  • Craft glue (mine is G-S Hypo Cement)
  • Fray Check or clear nail varnish
  • Clipboard and two bulldog clips
Take your leather and bend it in half.  Thread both ends of the leather into the button and slide it to the middle of the leather.  Tie an overhand knot to keep the button in place.


Clip the leather in place (with button facing down) as shown below.
Sorry - this photo is on its side!
Put a small amount of Fray Check (or clear nail varnish) on each end of    your nylon cord.  This makes the cord stiff and stops it fraying, making it easier to thread your beads.  Leave to dry completely.

Put the knotting cord underneath the leather, close to the button, ensuring that there are equal lengths of knotting cord on either side of the leather.

Now, you begin the macrame knots.  Starting with the left hand side of the nylon cord, make a loop across the leather as shown below.  Place the right side of the nylon cord on top of the left side cord. 
Then pass the right side cord underneath the left side cord and the leather and bring up through the loop on the left side.
 

Pull both cord ends tight to make a knot,  Repeat the same process but on the right side.
Once you have done this on both sides, you have created one full macrame knot.  Repeat this process one more time to make another complete knot.  You have now completed two macrame knots.


You are now ready to add the beads.  Thread one 4mm bead onto each side of the knotting cord and make one full macrame knot.  Ensure that you pull the knots tight so that the beads are held securely in place.


After each macrame knot (only do one full knot between each set of beads, not two as you did at the beginning), continue to slide on your beads and continue to knot.
When you have added enough beads for your wrist (I use about 40 for a wrist of 6.5 inches), finish with two full macrame knots as you did at the beginning of the bracelet.
Take the bracelet off the clipboard and tie an overhand knot in the leather close to the final macrame knot. 
Leave a gap in the leather through which your button can fit and then tie another overhand knot. 
Cut off the excess leather ends.  Put a dab of glue on the last macrame knot to secure, leave to dry and then snip off the excess nylon cord. 

And voila!
You can use cube beads or round beads for this project.